Back up SQL Databases to Dropbox
Need a straightforward way to backup your SQL data to Dropbox? By combining SQL Backup Master with the cloud storage capabilities of Dropbox, you can easily automate backups and protect your databases. Follow the steps below to set it up quickly and securely.
STEP 1 – CREATE AND SET UP YOUR DROPBOX ACCOUNT
On the homepage of Dropbox.com, select the Sign Up tab from the banner at the top of the website. Enter your credentials, click Create an Account, then choose the Dropbox plan that best fits your storage and budget needs.
Dropbox will ask a few questions to personalize your experience, then take you to the Download page. Select Download Dropbox to begin the application’s installation process.
STEP 2 – CONNECT TO SQL SERVER
Open SQL Backup Master and click on Backups in the navigation center, then click the New Backup button. The Database Backup Editor window will appear. Within this window, select the Choose SQL Server tab, which will open the Connect to SQL Server window.
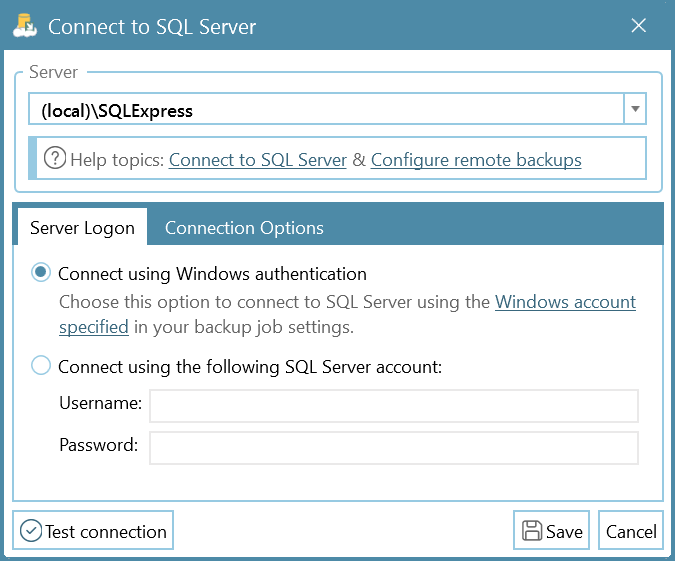
In the field labeled Server Name, select or enter the name of the SQL Server instance you are connecting to. Common examples include:
- (local)\SQLExpress – Specifies the default SQL Express named instance on the local computer.
- (local) – Specifies the local SQL Server installation without an instance name.
- Server1\SQLExpress – Specifies the default SQL Express named instance on a remote computer named “Server1.”
- Server1 – Specifies an unnamed SQL Server instance on a remote computer named “Server1.”
TIP: Another way to locate local and remote SQL Server instances is by using the drop-down arrow in the Server Name field.
Click the Test SQL Connection button to confirm your connection, then hit OK. Click the Save button in the bottom-left of the window.
A window labeled Windows user account configuration notice will appear. Click Yes to proceed.
Check the box marked Run Backup with a Specific Windows Account and then enter your authentication credentials (you should generally only need to enter this information once per backup).
STEP 3 – SELECT DESIRED DATABASES TO BACK UP
After connecting to a SQL Server instance, the Database Backup Editor window will list available databases in the left-most column, labeled Source. Select the databases you want to back up as part of this job.
TIP: You can also check the box labeled Back up all Non-System Databases, enabling the automatic backup of all new databases created on the target SQL server in the future.
STEP 4: ADD A DROPBOX BACKUP DESTINATION
Select the Add button under the window header labeled Destinations. This will bring up a window displaying all possible backup destinations for your SQL database:

Double-click the selection box labeled Dropbox (or click once, then press the Select button) to choose Dropbox as your backup destination.
The Dropbox Destination Settings window will appear. This is where you will authorize a connection to Dropbox.
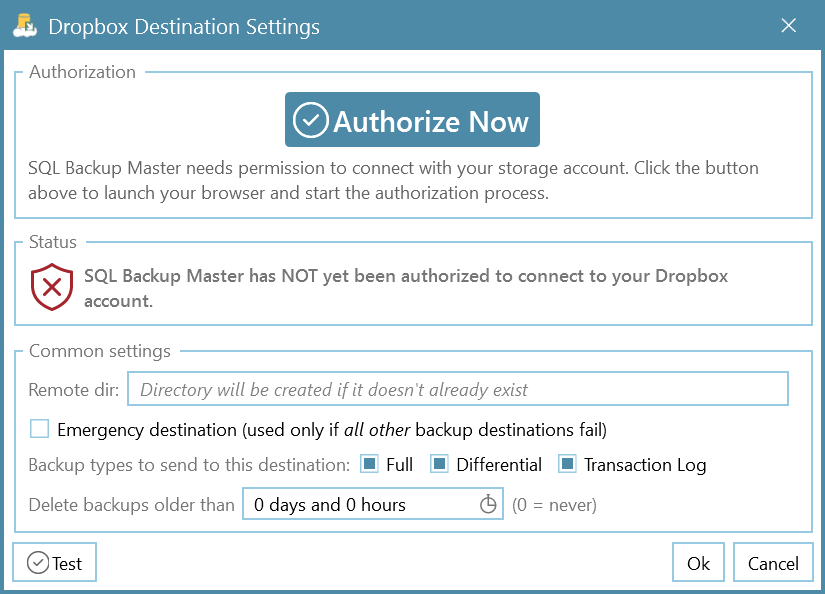
Press the Authorize Now button and then input your account information on the Dropbox login page. Signing in through the browser will bring up this window:
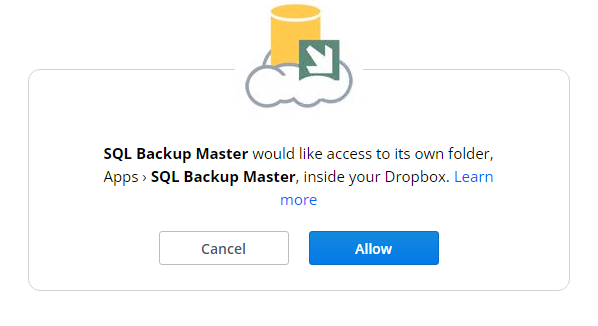
Click Allow, then you will be redirected to the SQL Backup Master App Verification page, where an authorization code will be displayed.

Press the Copy button to copy this authorization code to your clipboard. Back in SQL Backup Master, you will be prompted to paste the authorization code into the Authorization Code window.
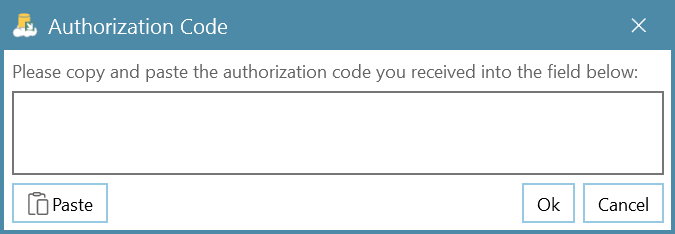
Once you’ve pasted in the code, click OK to complete the authorization. Use the Test button in the bottom-left corner of the Dropbox Destination Settings window to confirm a successful connection, then select OK. Finally, click OK in the main window to continue.
Back at the bottom-right corner of the Database Backup Editor window, click on the Save icon to finalize your Dropbox backup destination.
STEP 5 – RUN THE BACKUP JOB
Return to the main window in SQL Backup Master, select your newly created backup job, and hit Back up now to begin backing up your databases to Dropbox. If the backup job does not complete successfully, consult the log file for more details on any errors.
If the backup job doesn’t complete successfully, review the application log file for error details or additional troubleshooting information.
That’s it! You are now backing up your SQL database to Dropbox. By automating backups with SQL Backup Master, you’ll have peace of mind knowing your critical data is protected offsite and readily available for recovery.
If you’re looking for additional backup destinations—such as Google Drive, OneDrive, or Amazon S3—be sure to explore the full feature set of SQL Backup Master by Key Metric Software.